Translate

Showing posts with label Body. Show all posts

4.06.2014

A Haitian Treasure: Charcoal (Chabon) for Natural Teeth-Whitening

Reminder: My work is copyrighted. Please do not copy or repost my work without citing this as a source. 

I know I'm not the only Haitian-American kid who used/uses charcoal for teeth-whitneing. What can I say? It's the Haitian in me. As a kid, whenever my teeth would get a bit trop jaune (too yellow), my mom would chase after me saying, "Here, here! Use the charcoal! Get the chabon!This is how we do it in Haiti". And I'd get really excited. Of course when I was really young, I thought it was kind of weird, and wondered if the other kids brushed their teeth with this magical black rock brought from a special land, far far away....Haiti. But, then I'd snap out of it, dazzled by this cool cultural tradition that made me unique, and I'd get excited all over again. I vividly remember the splashes of black displayed in the bathroom sink after the cleanings, as well as my crazy looking black teeth before rinsing the chabon out. I always got a kick out of that. I still do....
Image from Google
Similarly to l'huile mascreti (Haitian castor oil), there's always some Haitian charcoal lying around a typical Haitian household. I guess because there's always someone going to Haiti and bringing us back these goodies. Luckily whenever I go back home to NY or have my mom visit me in Seattle, she replenishes my chabon stash.

My newest and biggest piece of Haitian charcoal :)
Decades later, cleaning my teeth with Haitian charcoal (chabon) is still a time-honored tradition that I partake in when my teeth are looking just a tad trop jaune. I look forward to passing this Haitian tradition to my kids, if I have any. For now, I'll settle with sharing this tradition with all of you!

Let's talk about some of the awesome benefits!

So what is charcoal?
It is nothing but burned wood or other plant material! Simple as that. What we really use is activated charcoal (activated carbon...hence the word, chabon), which is just regular charcoal that has been exposed to air and steam at elevated temperatures, which not only purifies it, but increases its surface area, makes it better at absorbing compounds, and enhances its overall properties!

Fun fact: Haitians have been using charcoal forever for teeth cleaning, but many other cultures have traditionally ingested charcoal for an antedote against food poisoning which is super cool! In fact, many hospitals all over the word currently keep some charcoal on hand to treat people in the emergency room who are suffering from food poisoning.

Umm, so how exactly does charcoal whiten teeth?
Charcoal is really good at absorbing materials because of its purification process, as mentioned above. The porous surface of the charcoal attracts materials into its pores. Luckily, once we rinse our mouths, the charcoal leaves with all of the toxins and other materials it absorbed (i.e, food particles, tannins, microbes, etc.)


How to use chabon to whiten your teeth?
Some of us Haitians brush with charcoal FIRST and then with toothpaste. Some with toothpaste FIRST then with charcoal. And some just brush all together with the charcoal on TOP of the toothpaste. Try all these methods! Figure out what works best for you.
  1. Crush a small piece of charcoal into a finer consistency, like that of sand. This will make it stick to your toothbrush easier.
  2. Tap your toothbrush on the fine pieces of charcoal
  3. Brush brush brush for a good 30 seconds- 1 minute
  4. Rinse as usual
  5. Clean your mouth and sink really well! Chabon is really good at sticking to things, making it difficult to remove so this step is super important.
  6. Admire your shiny white teeth!
 
Do you use chabon for teeth whitening? If so, please share your experiences!

Please note: The cultural anthropologist and socially engaged person within me can't help but mention that because charcoal is the product of burned wood and plants, that has implications on green life and agriculture. Makes sense right? And in a place like Haiti, where deforestation is such a big issue, I think it's really important to think about where our charcoal is coming from and supporting re-forestation efforts in Haiti, as well as considering alternatives to the standard charcoal production methods (of which there are many, thank goodness). Lastly, the future healthcare provider in me can't help but put in a plug for extra protection for charcoal-handlers, since a tremendous amount of smoke and volatile compounds are released during the charcoal making process.  It is my sincere hope that charcoal-handles have access to the necessary safety equipment for their health. That is a public/individual health concern!


Stay engaged,
N
Order a custom herbal tea blend from me by clicking here.


Connect with me!


The "Haitian Treasures" series explores the magnificent benefits and uses of Haiti's natural resources, which I call "Haitian Treasures" because they are truly national gems.  Naïka in Balance is the premiere source for information on healing herbs used by Haitians. In this series, I explore the tie between Haiti's natural resources and natural, traditional, and holistic healing.

Learn about other Haitian Treasures explored on this blog here!

The two most popular Haitian Treasures on this blog are:

Castor oil/l'huile palma christi
Wonder of the world plant/fey lougawou


Naika, the writer of this blog, has a doctorate in Naturopathic Medicine and a Masters of Science in Acupuncture as of June 2017. Please do not take the information presented on this blog, as medical advice, without consulting your certified health care practitioner. Knowledge is power and your health is your wealth!

2.22.2014

A Haitian Treasure: Relaxing "Tensyon" Rub

Reminder: My work is copyrighted. Please do not copy or repost my work without citing this as a source. 

My oh my, how I love writing about Haitian treasures. A while ago, I wrote about "Tensyon tea", a tea formulated to help reduce the effects of hyperthyroidism and associated symptoms, like anxiety, heart palpitations, insomnia, irritability, etc. Bet you weren't expecting a follow up to that one! 

I created a rub (an oil based topical application) that could also help reduce anxiety, mainly due to the amazingly calming scents. This rub also has herbs hand-picked from Haiti!

It contains soothing citronelle (lemon balm), a little bit of kowosol (soursop), a lovely mixture of nourishing carrier oils, and the ever-relaxing lavender and chamomile essential oils.

I have been using this rub I created for a while now, and it just smells so amazing. It also really helps promote a restful sleep

Here we go!


"Tensyon" rub
1/2 Tsp lemon balm herb (citronelle)
1/2 Tsp of soursop herb (kowosol)
1/3 cup jojoba oil
1/3 cup olive oil
1/3 cup coconut oil
15g beeswax
50 drops Lavender EO, 30 drops chamomile EO

Rationale


-       Since this was the “lead herb” in the tea for addressing anxiety, I thought it made sense energetically to include it in the rub
-       smells lovely
-       also has relaxing and soothing effects, making it appropriate for reducing anxiety


- Traditionally, Haitians have put crushed kowosol leaves on children's pillows to help induce relaxation and sleep

- the most important element
- calming and relaxing affects, especially effective at treating anxiety and insomnia
- improves mental alertness upon waking
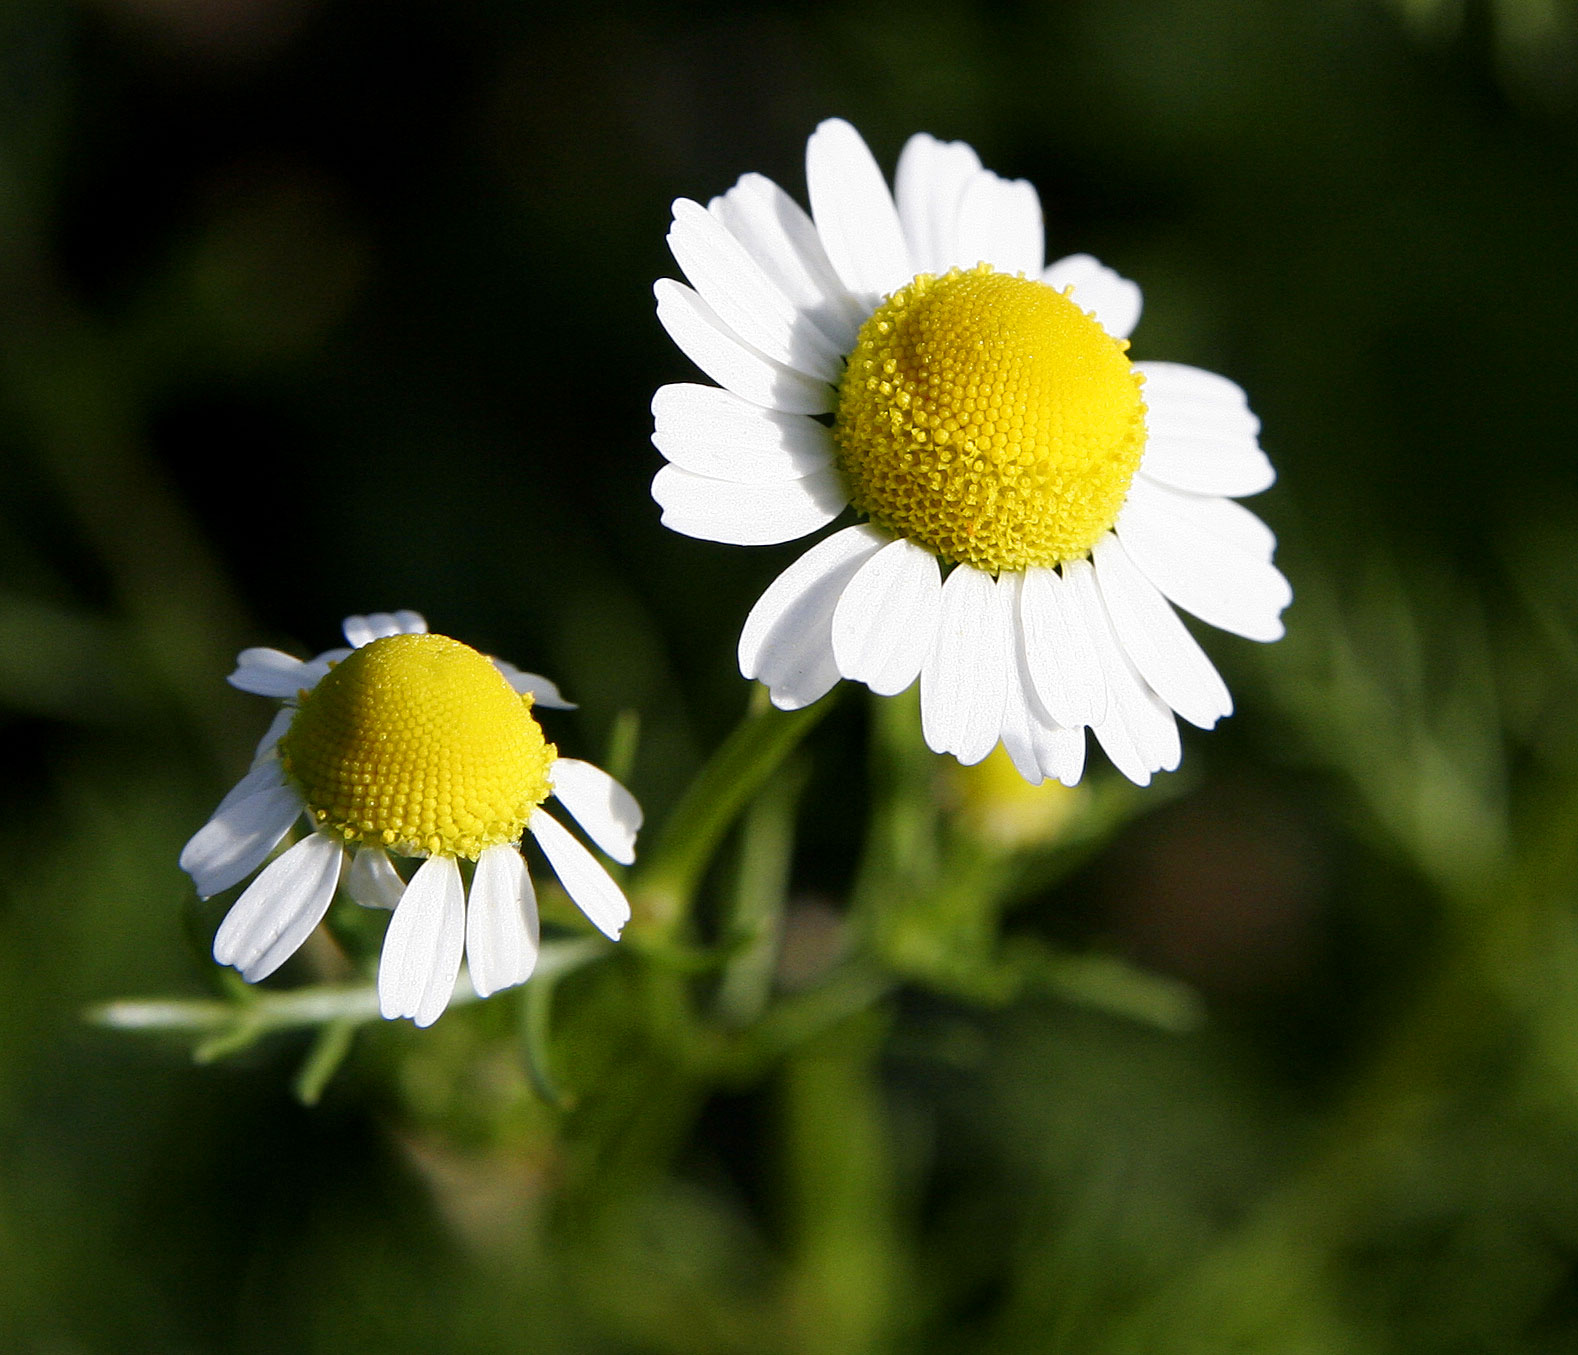
Homemade Chamomile essential Oil

-       a sweet herb, physically and energetically
-       soothing, relaxing, tonic
How to make it?
1.              Place herbs in 9 oz jar and pour oils over herb mixture, make sure the volume of oil covers all the herbs
2.              Place dried herbs and oil in a double boiler and bring to a low simmer
3.              Digest the mixture for about an hour (ideally 1-2 hrs) while making sure it is not overheating
4.              Press out as much oil from the herb as possible
5.              Store in a dark, glass bottle and label.
6.              Pour infused herbal oil into measuring cup and fill it to the 1 cup mark, if it does not reach the 1 cup mark, top it off with enough of the oil previously used for the infusion
7.              Place measuring cup into a water bath and heat the infused oil
8.              Add ~ 15 g of beeswax to the infused oil
9.              Let it melt and stir
10.          Check for consistency with a frozen spoon
a.              Add more beeswax to adjust consistency if needed
11.          Once achieved desired consistency, remove the infused oil from the water bath
12.          Add enough essential oil to the infused oil, as needed
13.          Add the vitamin E oil when the infused oil is cooled, as a preservative
14.          Pour mixture into opaque containers, put on the lid and label them
15.          Store in a cool dry place

Directions:
Use as needed. Rub appropriate amount on your body to relieve anxiety and to have a calming experience- particularly useful right before bed.

If you try to make this yourself, please let me know how you like it! 

And as usual, if you enjoyed this post or have any comments, feel free to leave them below!

<3

Stay engaged,
N

Order a custom herbal tea blend from me by clicking here.


Connect with me!


The "Haitian Treasures" series explores the magnificent benefits and uses of Haiti's natural resources, which I call "Haitian Treasures" because they are truly national gems.  Naïka in Balance is the premiere source for information on healing herbs used by Haitians. In this series, I explore the tie between Haiti's natural resources and natural, traditional, and holistic healing.

Learn about other Haitian Treasures explored on this blog here!

The two most popular Haitian Treasures on this blog are:

Castor oil/l'huile palma christi
Wonder of the world plant/fey lougawou


Naika, the writer of this blog, has a doctorate in Naturopathic Medicine and a Masters of Science in Acupuncture as of June 2017. Please do not take the information presented on this blog, as medical advice, without consulting your certified health care practitioner. Knowledge is power and your health is your wealth!

8.27.2012

Remedies for Itchy Scalp on Natural Hair

Itchy is scalp is annoying, to say the least.  Having to scratch your head constantly is downright annoying and even embarrassing for some. Though the causes of itchy scalp range from dandruff, to product buildup, to scalp infection, to an adverse reaction to a hair product, there are some natural treatments that can actually crossover and address all three. (Extreme cases of itchy scalp may indicate a more serious condition, and for that my friend, you should consult your healthcare provider.) As I always say, search for the root of your problem before addressing the problem. Below, I share some proven natural treatments for itchy scalp.
Remedies for Itchy Scalp on Natural Hair:

1. Preventative Care 
Prevention is better than cure and there are definitely some preventative measures you can take to avoid itchy scalp!
- Avoid products with alcohol, preservatives, and chemicals!
- Use cool water when washing hair
- Moisturize your scalp with moisturizing oils
- Don't dry your scalp with a towel
- Pay attention to the quality of water you use to wash your hair. Not all tap waters were created equal!
- Protect your hair while swimming
2. Clean Your Scalp Properly
- Clarifying shampoo: Sometimes we underestimate the power of a good shampoo session with a high quality natural shampoo. It's important to use a clarifying shampoo at least once a month to get rid of product buildup
- Apple Cider Vinegar: If you don't use shampoo and want a simpler way to clarify, consider applying 1/2 cup of apple cider vinegar with 1/2 cup of distilled water to your scalp
- Baking soda: Just like the ACV rinse, mix a few teaspoons of baking soda with some water for a bit of a harsher natural cleanse
3. Scalp Massage
Scalp massages are my absolute favorite way to cure most scalp issues whether it be irritation, dandruff, or itchy scalp! Choose an oil that has particularly good anti-fungal, anti-viral, and anti-bacterial properties. Feel free to mix the oils up for an extra oomph! Here are some great options:
-  Aloe Vera Gel- yes, I know it's not an oil but it has some great properties and it is naturally cooling and soothing
- Jojoba oil
- Lavender oil
- Tea Tree oil
- Olive oil
- Coconut oil
- Castor oil
- Rosemary oil
- Chamomile herb- another one that's not an oil, but hey...boil 2 bags if this herb in oil and use as a scalp rinse!
4. Apply a Mild Anti-Septic
A good anti-septic is Witch Hazel. Weird name, I know. Dab a few drops on a cotton swab and wipe your scalp with it.
5. Change Your Diet
A diet re-evaluation is always good when you are trying to optimize your health. Stick to lots of veggies, especially leafy greens like spinach and kale. Eat foods rich in good fat such as salmon, tuna, avocado, and almonds.

Hope these tips work!

Stay engaged,

Let's keep in touch!
Twitter
Instagram

8.21.2012

Energizing Smoothie Recipe!

Last week, I came across this amazing blog post with 20 summer smoothie recipes.  Naturally, I got super excited since I just love smoothies.  The one that sounded the least appetizing to me was actually the one I wanted to try the most. Weird right?  Well, it's because it contains almond butter! Eager to try what most heath-buffs claim to be the "better version of peanut butter", I bought some almond butter from Trader Joe's about one month ago. Alas, just like I dislike peanut butter, I dislike almond butter! I hate wasting things, so I have been trying to use the almond butter up, but to no avail.  When I found this recipe, I tried it right after an intense kickboxing session, and I LOVE IT. It has just the right hint of almond butter, yet it's not overpowering.  More importantly, it is very healthy and very energizing! Full of protein, light carbs and healthy fats, this is a great smoothie for after a workout! Recipe below.
Photo Credit
Energizing Almond Butter Smoothie Recipe:

  • 1 cup of unsweetened vanilla almond milk- milk alternative
  • 1 banana- protein
  • 1 tablespoon of chia seeds- protein
  • 1 tablespoon of almond butter- protein, healthy fats
  • a few sprinkles of ground cinnamon- great healthy spice
  • a few almonds for garnish
  • 1 teaspoon of honey (optional)- natural sweetener, good for immunity
  • 3 cubes of ice
Let me know if you try this yummy recipe!

Stay Engaged,
N


Let's keep in touch!

8.06.2012

10 Reasons to Add Chia Seeds to Your Diet

Chia, Salvia hispanica, is a flowering plant in the mint family, native to Southern Mexico and Guatemala. Cultivated and treasured by the Aztecs, chia was regarded as a superfood that could sustain an individual for 24 hours, stimulate saliva flow for hydration, and relieve joint pain.

These days, chia seeds are used more as a natural nutritional supplement. I love that I can just add a tablespoon or two of chia seeds to my favorite foods and received all their benefits. I add these delicious nutty-flavored seeds mostly to my smoothies, oatmeal, cereal & yogurt.


10 Reasons to Use Chia Seeds:
1. Rich source of essential minerals, such as phosphorus, manganese, calcium etc.
2. Chia is a complete protein, meaning it contains all 9 essential amino acids that our bodies cannot produce on their own.
3. Great source of omega-3 fatty acids and fiber.
4. Chia seeds can easily be added to most foods like baked goods, yogurt, oatmeal, smoothies, salad etc.
5. Chia seeds boost metabolism and provide long-lasting energy.
6. High in anti-oxidants which help fight free radicals.
7. Helps reduce blood pressure, lower cholesterol and stabilize blood sugar.
8. Has anti-inflammatory properties; the Omega-3 fatty acids help lubricate joints and relieve pain!
9. Easily Digestible. You don't have to grind them to take advantage of their nutrients.
10. Contains high amounts of tryptophan, which is the precursor to serotonin and melatonin. Serotonin increases feelings of happiness and pleasure.  Melatonin relaxes you and has anti-cancer properties.

Hopefully I've convinced you to try chia seeds! They really are so healthy and so easily integrated into your current diet. 


In health,
Dr. Naika

8.03.2012

Juicing Recipe #2: Tropical Twist

I have been looking for ways to spice up my juice recipes....well my ONE juice recipe.  Like with all things in life, too much of one thing can make you get over it really quickly.  Luckily, I found a delicious recipe on one of my new favorite blogs, Vitality Guide, created by Bianca.  Like me, Bianca has a penchant for healthy living and is a fan of fresh juicing.  As I was browsing her site, I found several juice recipes, that included all types of fruits and ingredients that I never even thought about using.  She even used....ice.  I never put ice in my juice! But, it sounded so intriguing and refreshing, and I promised that I would try it one day. Well, currently my entire family is on vacation in Haiti without me.  One of the things I envy the most about their trip is that they will have access to fresh fruit juices.  I just got off the phone with them and guess what? They were sipping on some fresh cherry juice on the beach. *grrr* So, a few minutes ago (literally), I went down to my fridge and decided to switch things up and make more of a tropical-inspired juice, as a sort of homage to the tropics. I am SO excited to continue trying more adventurous juice recipes because this was delicious. Cheers to health!

Here is my recipe (adapted from this one):
2 bunches of kale
1 bunch of spinach
4 oz fresh pineapple chunks
1 peach
1/2 lemon
ice
Put all ingredients in a juicer and serve over ice immediately


Oh, I just got an iPhone yesterday by the way.  The picture above was taken on Instagram, which I am now obsessed with. For more of a visual look into my daily life, follow me on Instagram.


Stay Engaged,
N

7.10.2012

Unlock the Benefits of Henna for Natural Hair

Henna, Lawsonia inermis, is a flowering plant native to Africa, South Asia and Northern Australia.

Henna has been used as a natural dye for thousands of years. Different peoples have used henna to dye hair, leather, skin, silk, etc. You're probably used to seeing beautiful Henna drawings on peoples' hands. This is a common practice in many South Asian cultures and is most often done for special occasions, like weddings.  But did you know that Henna is packed with natural proteins and conditioning properties that can strengthen and lengthen your hair? Let's unlock the wonders of henna.
Even though women from various cultures have been using henna for thousands of year, henna has recently gained a lot of popularity in the natural hair community over the past few years.  Most celebrated for its ability to condition the hair like no other, Henna is a true gem.  The other effect of henna that is both loved and feared the most is its ability to dye the hair slightly red.  This dying capability is due to a red/orange dye called lawsome, which is primarily found in the henna leaves.  Lawsome binds with the natural protein located in the hair shaft, repairing and sealing the hair cuticle for improved hair health!  The exact color you get after applying henna very much depends on your actual natural hair color.  For example, I have naturally dark brown hair so of course henna can't turn my hair to bright red. It just gives a slight tint that could only be seen in the sunlight.
I started using henna a few months after going natural in the spring of 2011.  I heard naturals rave about the amazing effects of this natural Indian herb.  I was hesitant to try it because I heard about how long it took to apply, its ability to change both the color and pattern of your hair, and that it could dry your hair out.  But I also heard that it made hair stronger, shinier and thicker, making the possibility of growth retention even greater.  So one day, I decided to take a trip to my local Indian grocery store and explore the benefits of henna. I tried it a day later and have been a dedicated henna-head ever since. I'm hooked for life! I do a henna treatment once each month.

My Henna Process:
1. Which to buy. I purchase the Nupur brand of henna, because is the only brand carried in my local Indian grocery store.  It doesn't hurt that it is packed with extra healthy Ayurvedic herbs. (It is important to choose body art quality (BAQ) henna because those types don't have added chemicals to them, making them the safest to use on your hair.  Also, make sure your henna is red, as that is the only color pure henna can be, unless it is mixed with other natural compounds such as indigo, cassia, etc.)
2. How to Mix. 24 hours before I apply my henna, I prepare it by boiling green or black tea in some water, then adding it to my Henna.  In a plastic bowl, using a metal spoon, I mix it up until it forms a uniform smoother consistency. Then, I store it for 24 hours.  The next day, I add 1/2 cup of an oil of my choice, usually coconut oil.  Sometimes, I also add 1/2 cup of a natural conditioner if my hair is feeling extra dry.
3. How I apply. Similarly to how I apply my avocado deep conditioner and bentonite clay treatment, I divide my hair into four sections and clip them up! Using my hands (covered with gloves of course), I spritz each section with water then apply the mix! (I would suggest covering your bathroom floor and sink with towels because the application process can be messy, especially because henna is a dye.  So, naturally, it stains everything it comes into contact with).
4. I don a plastic bag on my head, then leave the mix on over night or throughout the entire day.
5. Rinse rinse rinse VERY well. I usually fill my bath tub up with water and dunk my hair in it.  Then I wash the mix out with conditioner at least twice!
6. Deep condition with a non-protein moisturizing conditioner!!!! This is probably the most important part since henna can be drying! It is important to not use a protein deep conditioner because that would be too much protein, since henna is a natural protein.  Too much protein will make your hair break off.
7. Wash and style as necessary.

All in all, henna has improved the overall condition of my hair tremendously! The benefits are worth every bit of effort!


 Some Extra Benefits and Uses of Henna:
  • anti-fungal, antibacterial, astringent
  • can cure head lice, dandruff, and ringworm
  • can heal sunstroke, burns, wounds, and ulcers
  • natural analgesic (currently being tested)
  • cools the scalp
  • removes excessive heat from the body
  • can reduce aches and pains
  • improves blood circulation
  • prevents hair loss and thinning
  • naturally therapeutic and calming
Check out my henna update here.

If you've ever used henna, please share your experiences!

Stay Engaged,
N
Follow Naïka on Twitter!

6.25.2012

Buy in Season! Summer Fruits & Vegetables

Summer summer summer time! I love eating fresh produce in the summer and I look forward to some delicious seasonal treats.  Due to the popularity of this post, I wanted to create a new list of some of the fruits and vegetables that are currently in season. Remember, eating in season is good for the environment and good for your wallet, ya dig?
These fruits and veggies shouldn't be a surprise because they are such popular summer food staples. Think picnics, barbecues, and refreshing snacks. Mmmmhmmm. *runs to farmers market*

Fruits
Watermelon:
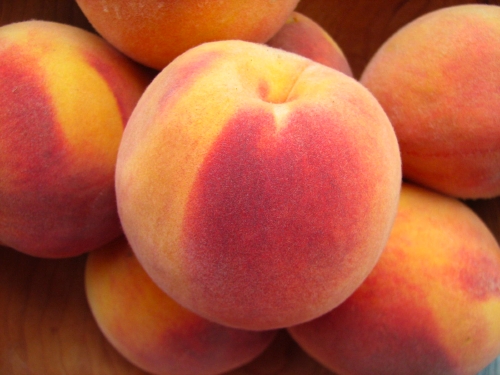
Peach:
Avocado (yes, avocado is a FRUIT):
Blueberries:
Strawberries:
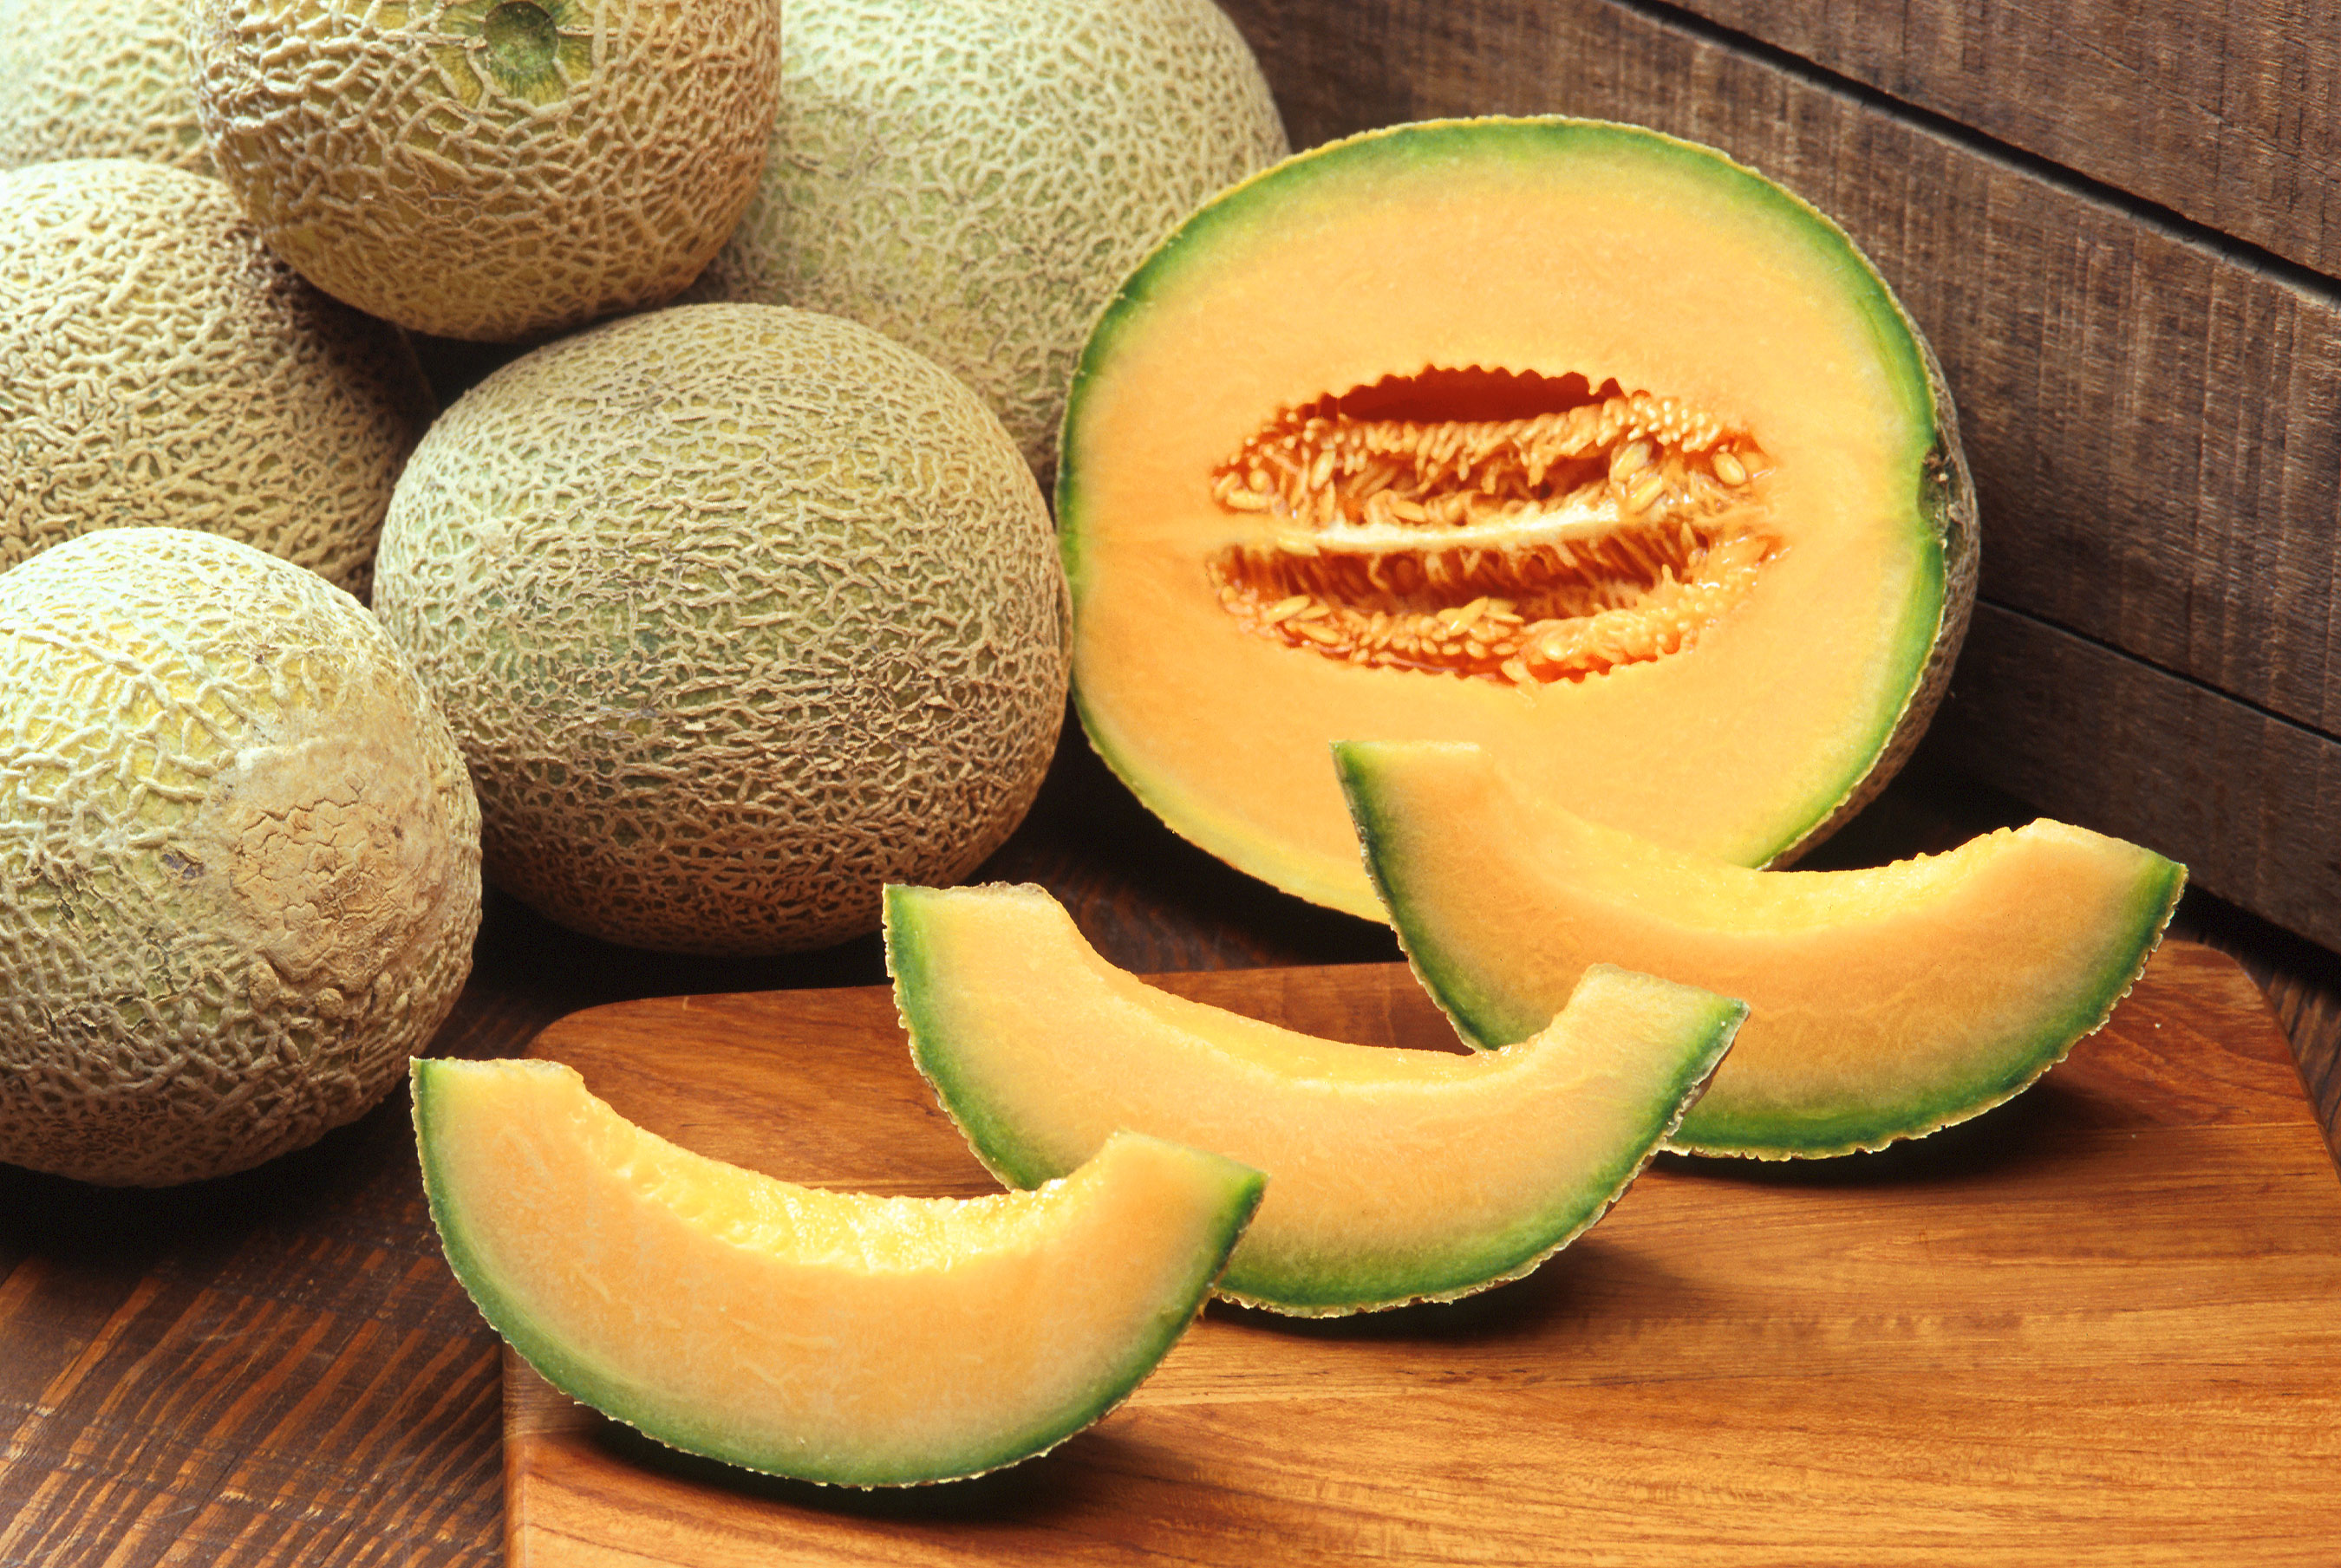
Cantaloupe:
Lime:


Vegetables
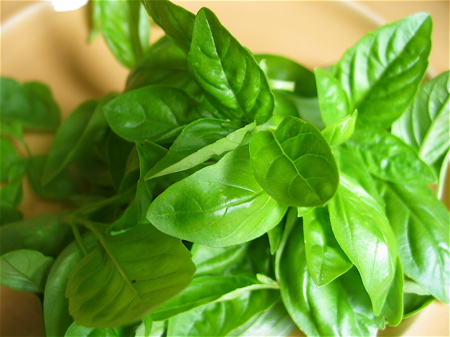
Basil:
Sweet/Bell Peppers:
Beets (I'm obsessed with beets):
Cucumber:
Eggplant:
Okra (#Caribbean):
Tomato:

Eat healthy and eat well!

Stay engaged,
N

6.18.2012

5 DIY Natural Facial Exfoliators

So, summer time is here! Sure, this means lots of festivals and concerts, barbeques and swimming, travel and fun. But, for some us, like me, it also means more humidity, sweat, and overall yuckiness.  Even though I adore summer, I actually detest the heat because I sweat so much.  Consequently, my skin usually goes crazy on me!  (Is this TMI?....*shrugs*). I find that I have to give my skin some extra TLC during these challenging months, so I resort to a wonderful mixture of natural DIY (Do it Yourself) exfoliation masks! All of the ingredients are natural, yummy, and multi-purpose, and could be found in grocery stores or health stores in your area. Below, I share 5 simple natural facial exfoliation treatments you can incorporate into your skin regimen to keep your skin clean, smooth, and radiant.
Image source: Pinterest
The procedure is pretty standard for all of my DIY natural facial exfoliators.  I usually pour equal small amounts of each ingredient in a small plastic or wooden bowl then mix with a plastic or wooden spoon (please avoid metal utensils). Then, I rinse my face with warm water to open my pores, then I apply the mixture to my face using my hands, then I scrub lightly with a facial brush (I use this one from Sally's) OR with a facial towel.  I then rinse off the mixture with cool water to close my pores. An optional additional step is to spritz my face with my all natural home-made toner mixture (will do a post on that soon). That's it! I don't use facial lotion in the summer because all of my exfoliation masks contain natural moisturizers and because the natural humidity in the air provides enough moisture for me.

Image source: Natural Home Remedies
5 DIY Natural Facial Exfoliators:
1. Honey + Tea Tree Oil- gently cleanses skin and provides moisture (can be used daily and is really good for oily skin)
2. Baking Soda + Water- gently clarifies skin and removes excess dirt (can be a little drying)
3. Brown Sugar + Oil-makes skin soft and moisturized (good for dry skin)
4. Egg Yolk + Lemon Juice-removes redness and irritants
5. Oatmeal + Greek yogurt- provides moisture and gives your skin some extra brightness

I hope you enjoy these simple recipes! If you try them, make sure to let me know.


Stay Engaged,
N

Connect with me!


Medical Disclaimer: Naika, the writer of this blog, is Naturopathic Doctor and Acupuncturist. Please do not take this as medical advice, without consulting your health care practitioner. Also remember, knowledge is power and your health is your wealth!

6.11.2012

Juicing Recipe #1

I've really enjoyed juicing for the past few months.  At first, I started off by only drinking these fruit and vegetable juices all day as a fast because I really needed it.  But now I've successfully incorporated these deliciously healthy juices into a regular diet and they fill me with lots of nutrients and energy! I am now currently trying to actively lose weight (for the first time since starting this blog), so I drink this as a small meal every single day. #Winning.  As a first reminder, even though juicing removes the fiber from the fruits and vegetables, it allows you to consume them in large quantities and allows your body to absorb an abundance of vitamins and minerals into the bloodstream very VERY quickly. As a second reminder, try to buy produce in season to save some money!

Here is one of my favorite recipes!
Image source: Google search
Ingredients:
2 carrots
1 cucumber
1 beet root
1 stalk of celery
1 bunch of spinach
1/2 pear
small piece of ginger root or a few drops of lemon for a boost

This mixture is packed with anti-oxidants, immune boosters, blood cleansers.  The ingredients are anti-carginogenic, anti-inflammatory, and anti-hypertensive. This drink will improve your blood circulation and digestion, decrease cholesterol, cleanse your intestines, strengthen your bones, encourage cell reproduction, and prevent heart disease.

If you like this post, make sure to check out my popular green smoothie post!

Stay Engaged,
N

Connect with me!


Medical Disclaimer: Naika, the writer of this blog, is Naturopathic Doctor and Acupuncturist. Please do not take this as medical advice, without consulting your health care practitioner. Also remember, knowledge is power and your health is your wealth!

5.29.2012

The Best Multi-Purpose Oil: Extra Virgin Olive Oil for Hair, Body & Food


Olive oil is actually a fat derived from the fruit of the olea europaea tree, otherwise known as the olive.  Olive oil has been used for millenia all over the world, but especially in the Mediterranean, where it has been considered a traditional, medicinal, religious and even magical entity.  It has a rich history and its extraction was first recorded in the book of Exodus in the bible! #Serious. Olive oil is used for everything from cooking, cosmetics, pharmaceuticals, and fuel, to name a few.  Olive trees live for centuries, require minimal cultivation, and are so healthy. Let's explore this wonderful treasure!


I first read about "EVOO" when I was browsing natural hair sites in early 2009 after I just went natural.  First of all, I didn't know what "EVOO" stood for.  Eventually I realized it was the acronym for extra virgin olive oil of course.  Naturals raved about its uses in hair as a moisturizer, sealant, and deep conditioner.  Naturally, I was super curious. There seemed to be a consensus that EVOO quality was superior to all other olive oils including "pure", "refined", "virgin", etc.  Since I really didn't know better as a new natural, I took the natural hair experts' advice and bought some at Trader Joe's (pictured below).  I have been using this amazing oil ever since! I not only use it in my hair, but also in food and on my skin.  The reason I love this oil so much is that it is totally multi-purpose, which I think is very important. This makes EVOO budget-friendly AND eco-friendly.  I believe there is nothing cooler than literally being able to eat something as is, cook with it, and apply it to your skin and hair.  There have actually been many times where I've poured too much olive oil into a bowl to cook with, then immediately applied it to my skin as a moisturizer, and still had some to spare to put on my hair strands for a quick deep treatment while I ate the meal prepared with EVOO. Pretty awesome, huh?!

Let's explore why EVOO is the best type of olive oil to use!
Extra Virgin Olive Oil from Trader Joe's


Extra-virgin olive oil is the purest, tastiest, and most effective form of olive oil.  Here are 4 reasons why EVOO is superior:
  1. It is the least processed form of olive oil
  2. It has the most monounsaturated fatty acids (really good fat, which can lower cholesterol, if consumed in moderation) and polyphenols
  3. It lowers inflammation far more than the other olive oils
  4. It is created without the use of any heat of chemical treatments
  5. It tastes the BEST because extra precautions are taken to make sure the olives are at the perfect stage of ripeness before the process starts

Some Benefits:

  • Reduces risk of cardiovascular diseases; the vegetable mucilage, as well as high levels of Vitamin E, phenol, and monounsaturated fats in olive oil helps protect your body's digestive tract *ever wonder why it's so popular in Mediterranean diets?
  • Rich in vitamins A, B1, B2, C, D, E and iron
  • high amount of omega-6-fatty acids
  • anti-inflammatory, anti-hypertensive, anti-oxidant, anti-carcinogenic
  • regenerates cells and softens skin tissue
  • natural moisturizer, especially effective in the winter

Some uses:
  • Used for cooking, especially with vegetables and very lean meats: I only cook with olive oil.
  • Ear wax softener: gross I know, but this oil is a great emollient and helps get ear wax out very easily.
  • Natural shave oil: stay away from the chemical-laden shaving creams! Use some EVOO. It helps you shave smoother and moisturizers your legs at the same time.
  • Natural Moisturizer: I know I've said before that oils and butters don't moisturize because they don't contain water. This is true, but olive oil (as well as coconut oil) is an exception! It really does penetrate your hair and skin shaft to provide amazing moisture.  Skin: Oil can be a little intense for my face so I don't use EVOO has an alternative to facial lotion, as I would jojoba oil, but I know plenty of people who have had great luck doing this! I use EVOO as a body moisturizer, and it's really good for the legs especially! #whowearshortshorts. Hair: Sometimes I just put a few drops of EVOO in the palm of my hands and rub it into my hair.  But, I use EVOO as more of a sealant after I've moisturized with water, out of habit.
  • Natural makeup remover: Put a few drops into a cotton swab and wipe your makeup off. Rinse with water right after. 
  • Facials: Once in a while, I slather EVOO on my face, then apply a hot towel to my face for a few minutes, then rinse off with cool water. I'm left with silky, smooth, and hydrated skin.
  • Oil Cleansing Method (OCM): OCM is a method of cleansing and moisturizing the face with a mixture of extra virgin olive oil, castor oil (or another suitable carrier oil) and a select blend of essential oils.  I used to do the OCM method almost every day and it worked really well. Not too sure why I stopped actually...
  • Deep Conditioner: I do a hot oil treatment with olive oil at least twice a month. It can be mixed with other oils such as coconut (I use vatika coconut oil), castor, jojoba, etc.  But, it is perfectly good on its own too! I separate my hair into sections, spritz with water, and slather the oil on.  Then, I put on a plastic cap, followed by a heating cap, leave for at least 30 min, then wash it out.  My hair couldn't be softer or shinier afterwords!
Conclusion: This is by far the best multi-purpose oil out there!


Have you ever used EVOO? Please dish on how you use it and why you love it!


Stay Engaged,
N

Connect with me!


Medical Disclaimer: Naika, the writer of this blog, is Naturopathic Doctor and Acupuncturist. Please do not take this as medical advice, without consulting your health care practitioner. Also remember, knowledge is power and your health is your wealth!